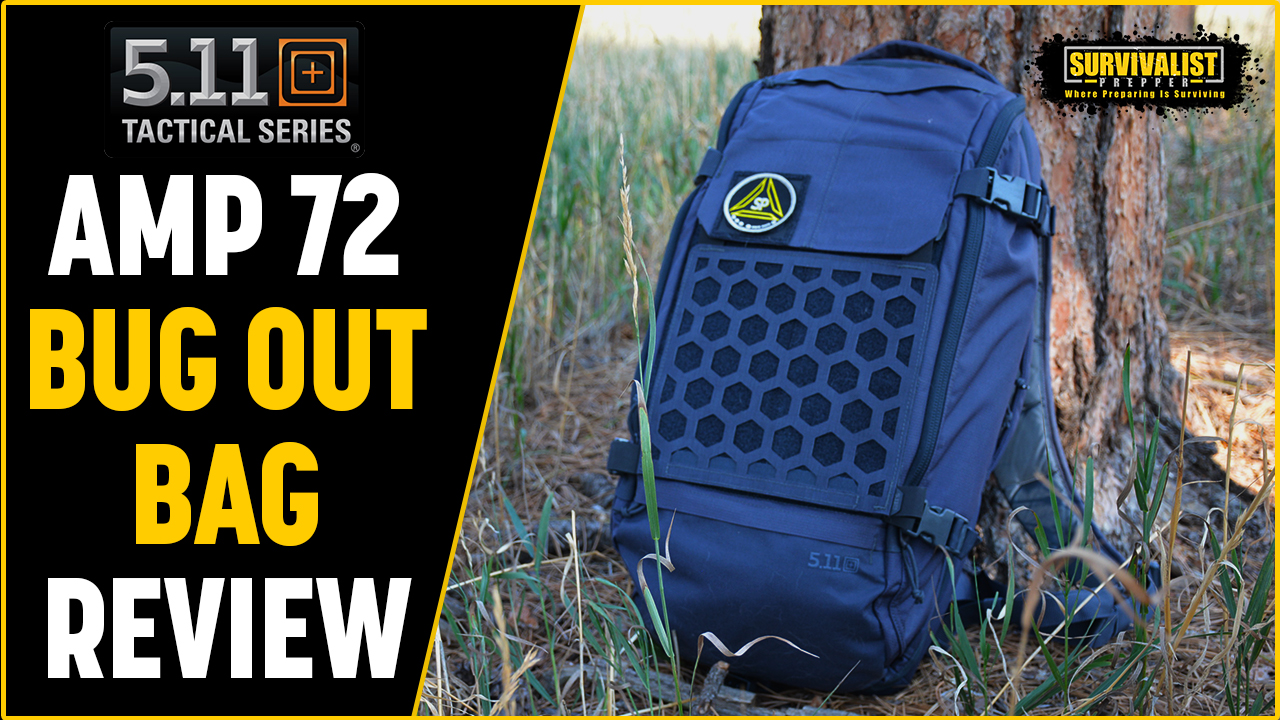
Those who follow Survivalist Prepper on YouTube know I recently updated my bug-out bag from a Yukon Outfitters 45-liter bag to an AMP 72 bag by 5.11 Tactical. In this article, I will go through why I chose the AMP72 and the ins and outs of the backpack. This article is not necessarily a review because the bag was brand new at the time this video was recorded, and I have yet to use it enough to give it a full review.
As I review all the features that this AMP 72 includes, you’ll see that this pack makes a perfect bug-out bag because of its organization options, customization options, and overall quality. The main thing I like about 5.11 Tactical bags is their high quality. The material they use, the stitching, the zippers, everything from top to bottom is just really high quality.
While you don’t need a $500 backpack (The AMP72 is $200) as a bug-out bag, you want something you won’t have to worry about in an emergency. The basic prepping supplies and gear inside the bag are more important than the bag itself, but it will be awful hard to carry all that stuff if your bug-out bag fails.
Tacti-Cool vs Grayman
While I love all the “Tacti-Cool” style gear available to preppers, I don’t want to look like a military contractor walking the streets in an SHTF scenario, or a smaller scale disaster. That’s why I chose the AMP from 5.11 Tactical. It’s somewhat of a hybrid pack that looks like your typical hiking pack but has all the accessories and options of a military pack.
The HEXGRID multi-angle load-bearing platform is a genius idea. It comes attached to the outside of the pack with velcro but can be moved inside to mount 5.11 gear sets on it. I decided to keep the HEXGRID on the outside and purchased the Double Deploy Gear Set to mount on the inside. This is because the more you mount on the outside of the pack, the more tactical it starts to look, and I would lose the Gray Man aspect I’m looking for.
Another option would be to attach the HEXGRID on the inside of the pack, and attach the Double Deploy Gear Set to the outside using the Velcro or the same buckles the HEXGRID used. Again, the versatility and options are top-notch with 5.11 gear.
The Outside Front of the AMP72

(4:59 of the Video)
There are a few pockets on the outside front of this bag, along with the HEXGRID and velcro. It has a top felt-lined pocket for cell phones or sunglasses, a pocket at the base of the bag, and a concealed carry pocket behind the HEXGRID with velcro inside to attach a holster.
One thing I really like is the four-zipper pull design on the main compartment. This allows you to open the top and sides separately. The zippers are YKK zippers, the highest quality on the market.
The bag itself is constructed using 500D Nylon (body) & rip and abrasion-resistant 1050D Nylon with DWR water-repellent and 2X PU-enhanced Coating on the bottom. Most backpack manufacturers use either nylon or polyester, but there is little difference between polyester and nylon. Polyester will be a little more waterproof or water-resistant, and nylon weighs less.
That’s probably why 5.11 went with the nylon. You can get the same type of thread count with less weight. The downs side is that it is less water resistant. But if I’m in a situation, I’m out hiking or bugging out, if it’s raining, I’m going to have my poncho on, which is big enough to fit over the bag pretty well because of its low profile design.
The Outside Back of the AMP72

(7:49 of the Video)
Moving to the back of the bag, it has a thermoformed back panel with an aluminum frame and load lifters on the shoulder straps that help give you a perfect fit. When used with the compression straps and belt loop, this bag would be very snug if you have t move quickly.
The shoulder straps are super strong and padded, and the sewing throughout the bag is excellent. 5.11 bags are double stitched in places where it needs it. The shoulder straps also have vertical fabric straps if you want to attach something like a knife or tourniquet.
There are also a couple of little pockets down at the bottom of the shoulder straps where you could put a sewing kit, lighter, or something small.
Clamshell Design
One thing I love about this bag, because I’m a prepper and a gun enthusiast, is the clamshell opening on the back that opens a compartment that will fit a short barrel rifle or a full sizes AR 15 if it’s broken down.

While I won’t be keeping my AR pistol in this bug-out bag at all times because of legal reasons and weight, it is a great option to have in a bug-out situation. Depending on the case, you may want to conceal the fact that you have an AR or SBR (Short Barrel Rifle)
The Inside of the AMP72

(11:02 of the Video)
Inside the AMP 72, you can have a hydration bladder or laptop that will fit flat along the back inside the compartment. This also has a rigid plastic plate for a little extra protection. There are slits on the left and right to extend the hose of your hydration bladder outside the pack.
As I said before, I was still determining what I would do with the Double Deploy bags I purchased. If I decide to put them on the inside, I can use the Velcro on the back face and have some organization at the top of the pack.
Because of the Quad-Zip design, I can open the top portion of the pack and have easy access to the top inside pocket and whatever I put in the Double Deply bags. This allows me to put the items that are most important or used at the top and keep them organized.
This is also where having the HEXGRID on the inside would come in handy. It would allow you to attach and MOLLY compatible pouches you already have to the inside back of the AMP 72 Backpack.

The inside bag flap has a pouch that opens from the left or right. This is also where the Quad-Zip technology comes in handy. Because this pouch unzips from the left or right rather than the top, you can unzip one side and get to the supplies in that pocket while still carrying the bag.
Inside Organization
The inside of this pouch also has smaller pockets and webbing to keep everything organized. I’ll probably use this pocket for pens, notebooks, flashlights, ferro rods, or anything that gets used a lot and tends to get lost in the pack.
Behind the top pocket is a hidden one in here that you can’t really tell that it’s there when you first look at it. You could stash essential documents or cash in this semi-secret pocket. Although, if someone is digging through your bag, you have more significant problems.
On the inside of the bag, you have water bottle sleeves on each side. These sleeves can be accessed from the inside or outside, but they share the same space. If you put a water bottle in this pocket, there is less room in the outside pocket. Watch the video at 14:45 for a better understanding of how this pocket works.
Back Pack to Bug Out Bag

I’m pleased with this purchase, and I think the AMP72 is going to make a great bug-out bag for my needs. 40 Liters is just large enough to fit everything I want in it and just light enough that it’s not going to become so burdensome I start unloading supplies.
While it looks like a simple backpack, it has a lot of functionality and excellent features and is a high-quality pack. The ability to keep things organized and the customization options were also big selling points for me.
The video below shows what I decided to put into this bug-out bag, but keep in mind this is version one. I’ll do a more in-depth write-up on this bug-out bag shortly and go over what I decided to change after I do some testing.
